How to integrate Zapier with Storeganise
View all of our triggers, actions and current templates with Zapier here.
The below is an interactive demo
Getting started with Zapier
- Log in to your Zapier account or create a new account using this link.
- Navigate to "App connections" from the left menu bar.
- Now click on "Connect a new account..." and search for "Storeganise"
- Use your credentials to connect your Storeganise account to Zapier.
- Once that's done you can start creating an automation! Use a pre-made Zap or create your own with the Zap Editor. Creating a Zap requires no coding knowledge and you'll be walked step-by-step through the setup.
- Need inspiration? See everything that's possible with Storeganise and Zapier.
Set up your API key
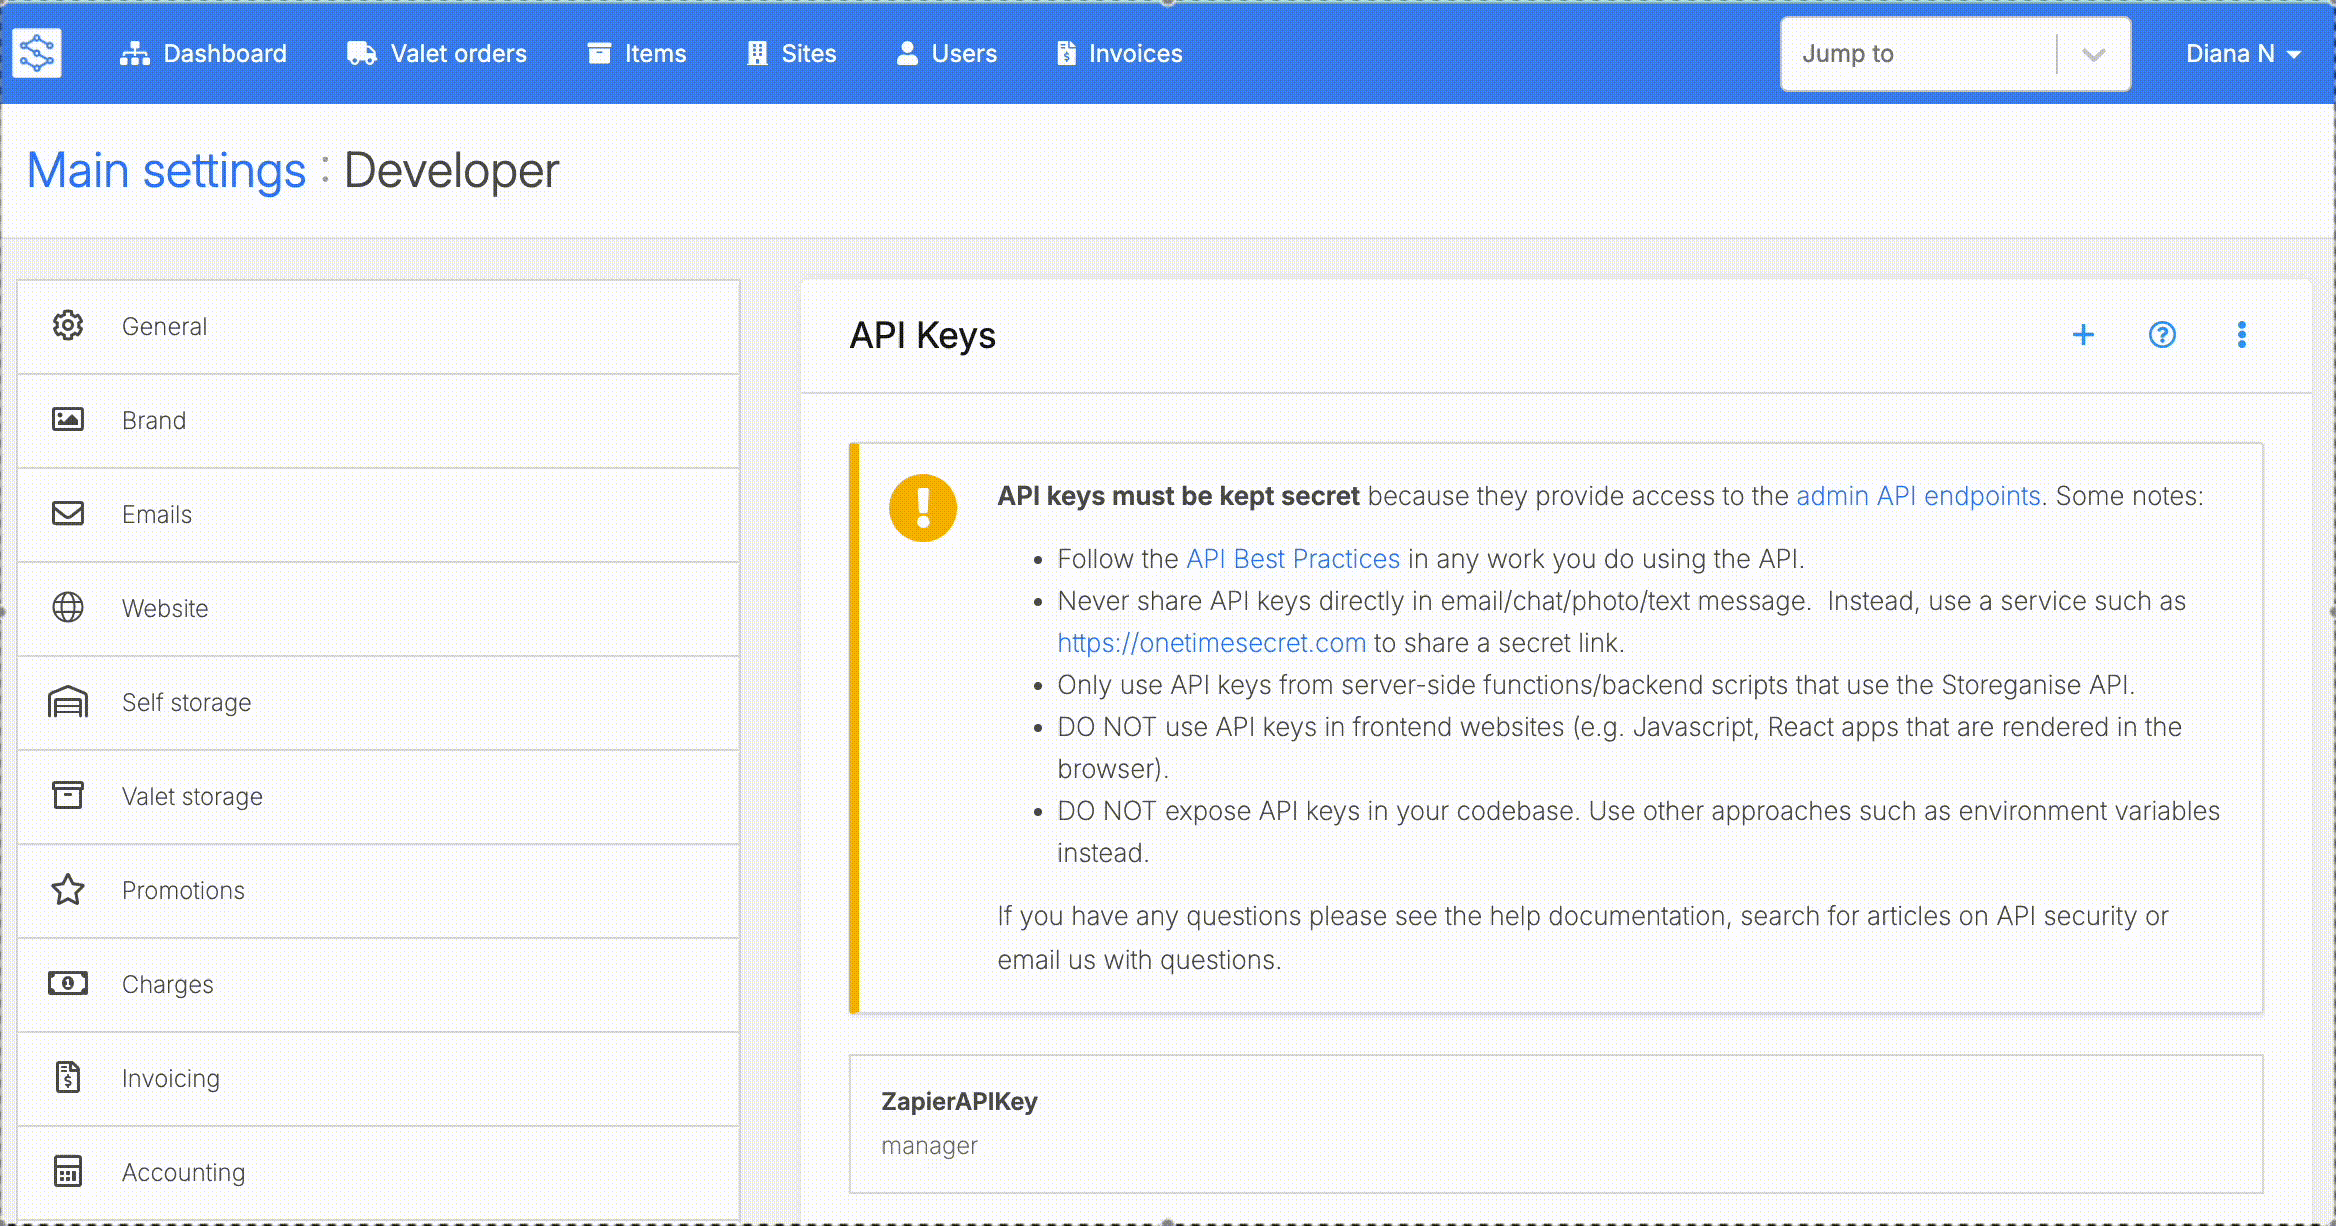
- Within your Storeganise management portal, go to the "Main Settings" section. Find the "Developer" sub-menu on the left-hand side.
- Click the "+" button in the API Key section.
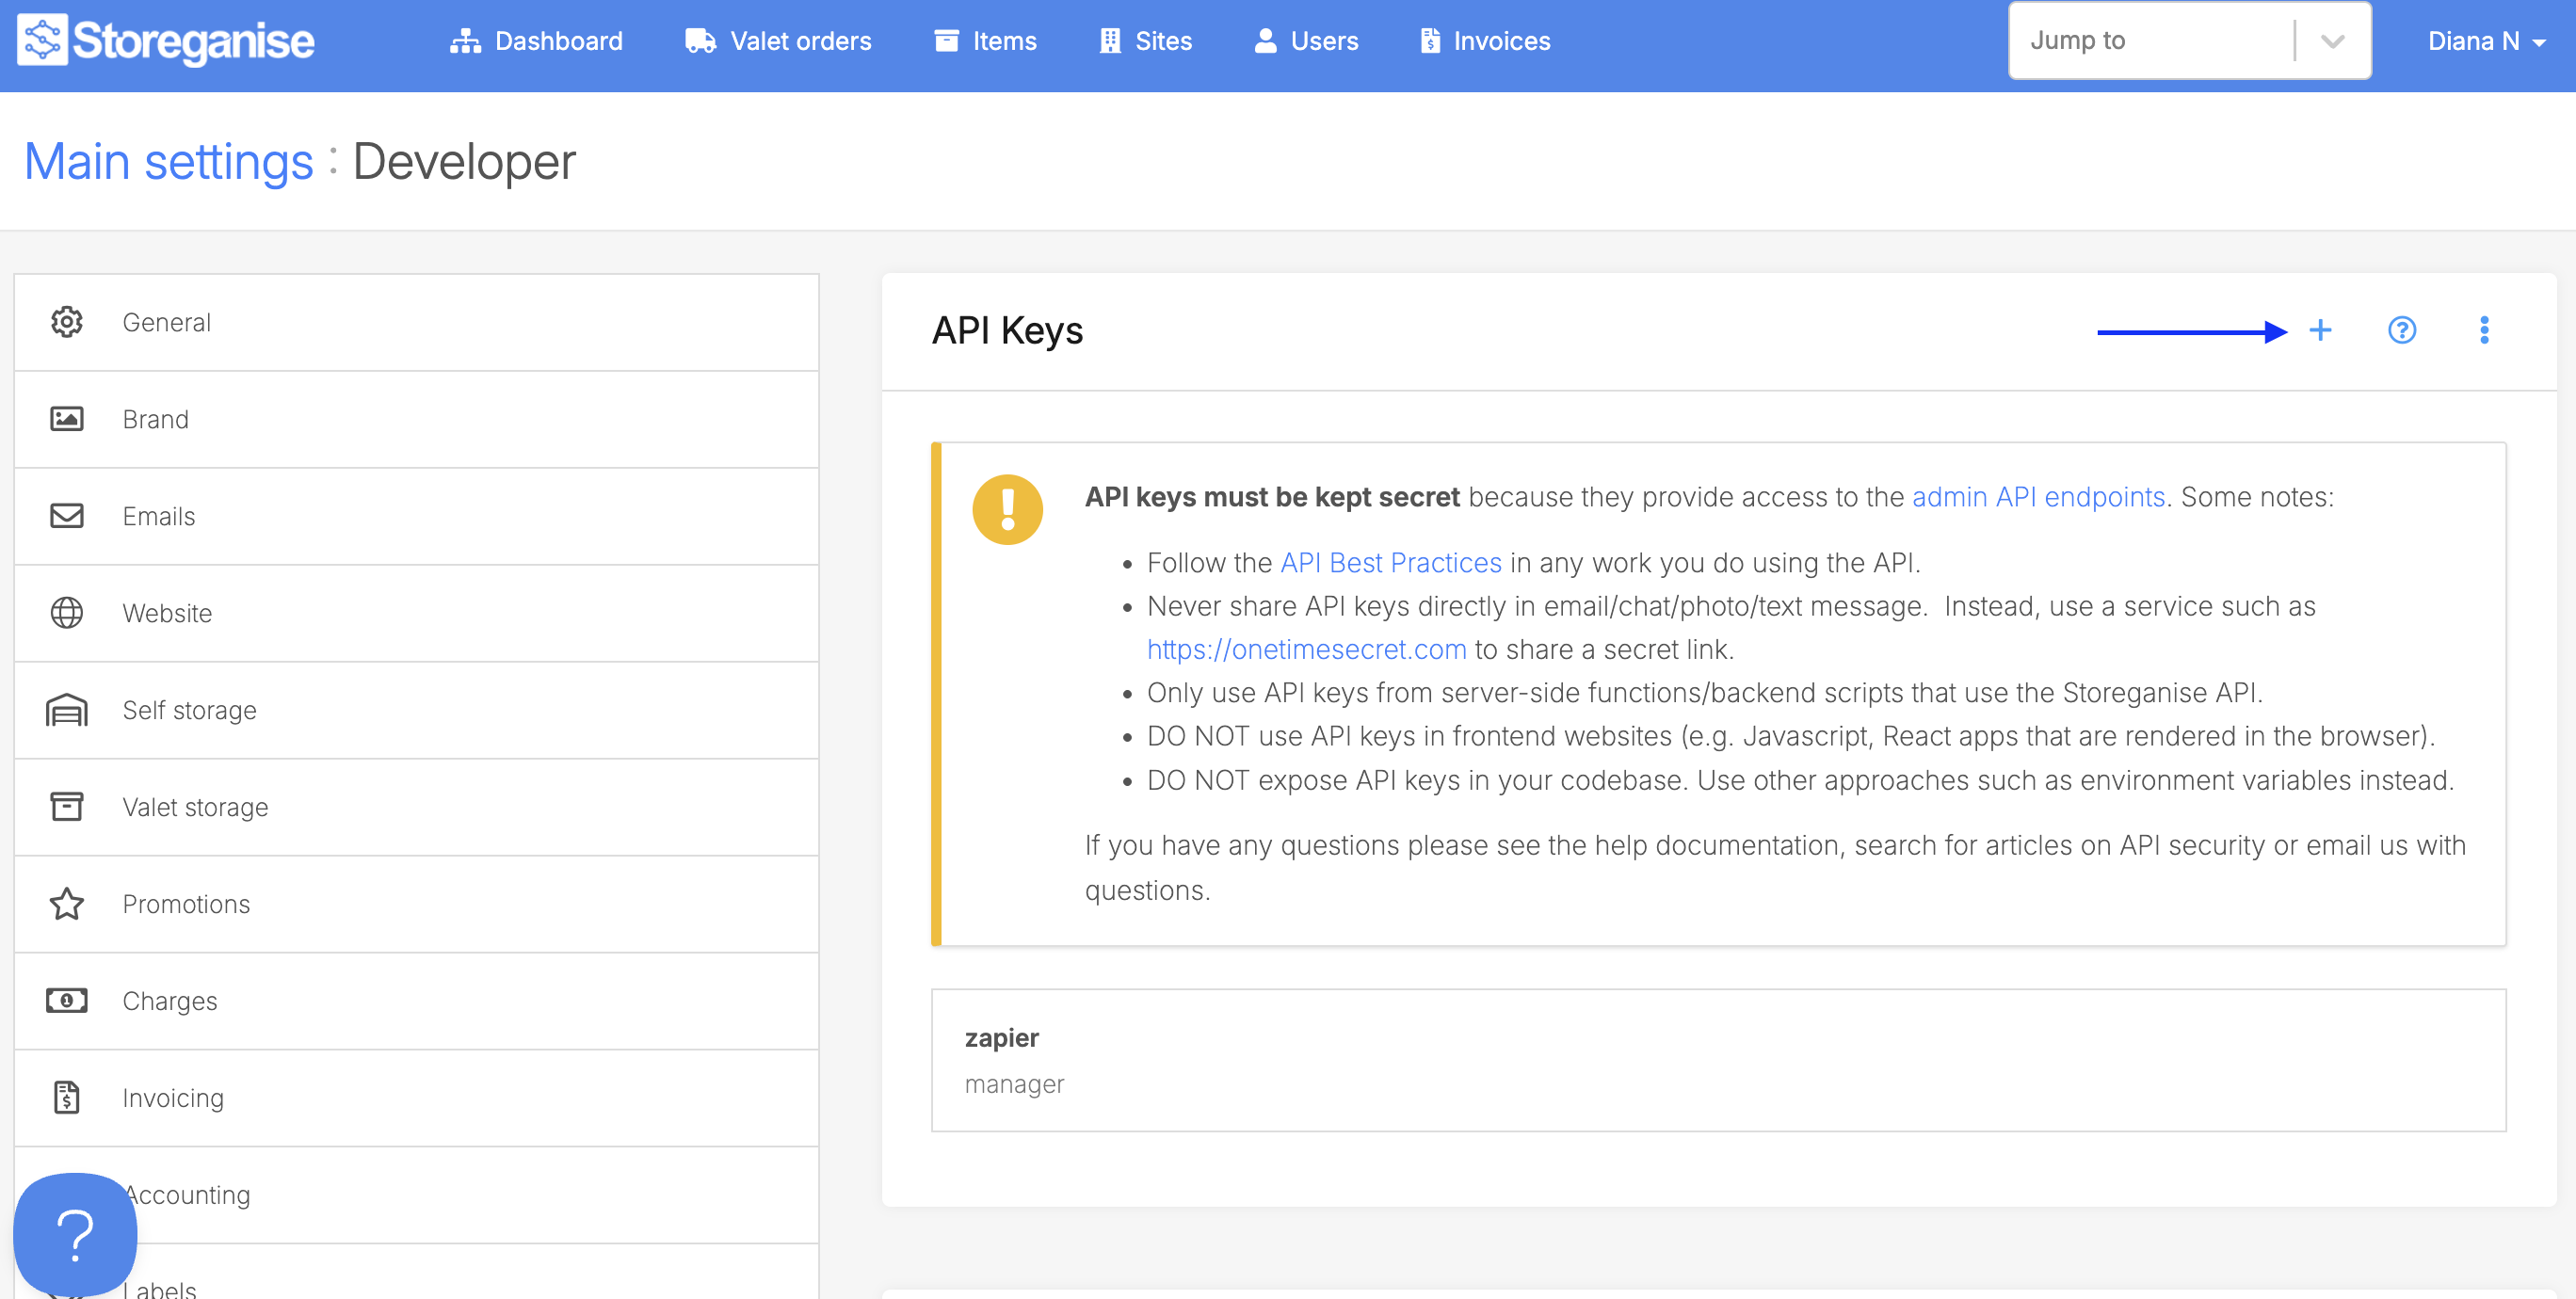
- In the pop-up window, set a name
- Select the
Managerrole
Important: You MUST select the Manager role. Any other role may result in the Zapier connection not working as expected. You can simply put the integration name "zapier", for example.

- You may then click the "Create" button.
- After successfully setting up your Zapier API key in the Storeganise management portal, go to Zapier to connect and authorize your Storeganise account.
- This pop-up box will then appear. (If you need help completing the setup in your Zapier account, you may contact Zapier Support)
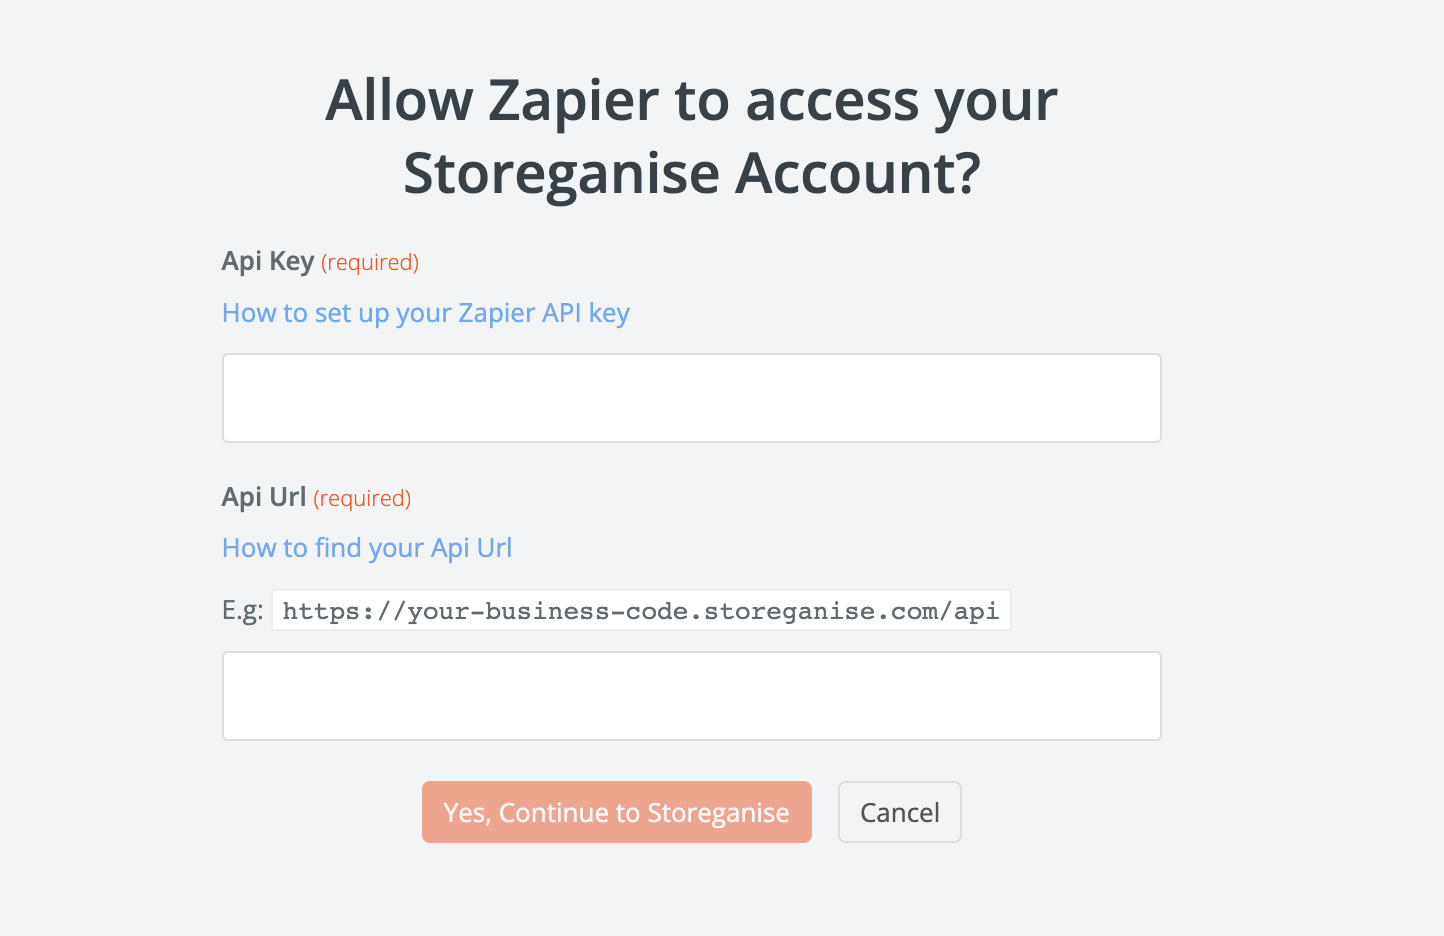
- In this pop-up window, add the Zapier API key and your API businessURL. (Note: To copy the Zapier API key, open the newly created key in your Storeganise management portal and double-click the grayed-out field containing the key itself.)
Add your BusinessURL
As part of the authentication process, you must add your API BusinessURL. This can be done by simply accessing your Storeganise instance, copying the URL up the ".com" and adding "/api" after the ".com"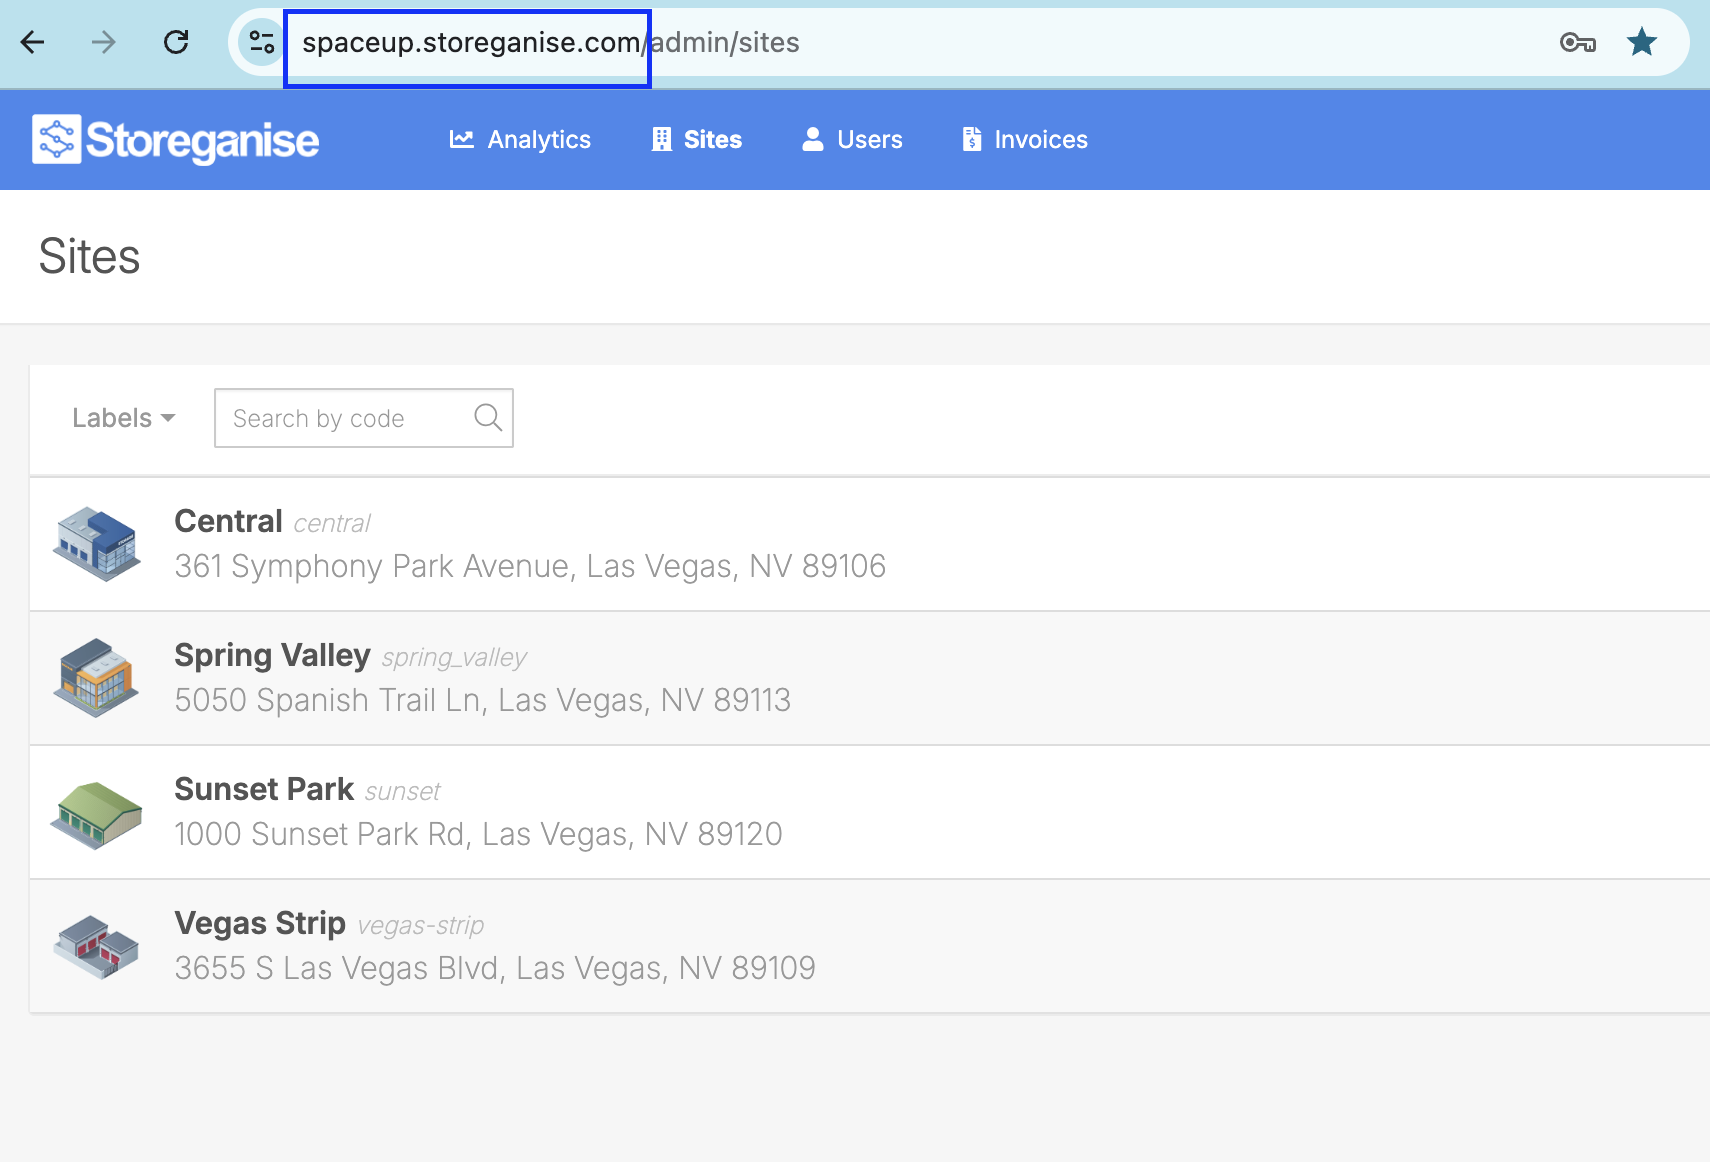
Field mapping issues after going live
If you see a yellow exclamation mark (⚠️) in the Configure tab or if fields aren't mapping correctly after going live:
- Go to Zap Runs in the left sidebar
- Select the latest run and click Use as test data
- Reconfigure your Zap using this live test record to remap all fields
- Test each step to verify correct mapping
Using real customer data from your live environment ensures accurate field mapping.
Jump to